Wall and stairs

Sometimes a picture can tell a story even though it is very simple.

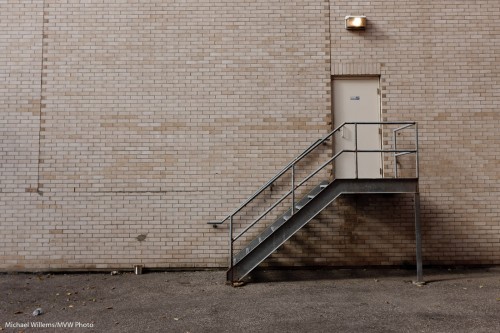
Look at this image, taken during the Urban Photography walk last week:

Wall and Stairs

Wall and Stairs

Now I don’t know about you, but to me, this tells stories.

Or rather, it evokes them: I can make up my own stories.

The stories in a simple image are often in the viewer. Where do the stairs go? What’s in the can? Where is this? It is depressing? Or funny? What is behind the door? What was in the bottle?  “You can’t help but wonder”, as a good friend just said to me.

I therefore urge you to try the same: here is an assignment.

Try shoot a few images with plenty of negative space (see a previous post) or patterns, perhaps, in an urban setting, that invite to storytelling.

The key is not to tell it all, in the image. And – have fun!

Outside flash

As a result of yesterday’s shoot, reader Franklin asked:

Michael, I often use my flash for outdoor portraits.  Since I don’t have anywhere to bounce the flash, I often point it straight at my subject.  In many cases, I end up having to deal with the oily, overexposed skin highlights mentioned in your previous post.  Any tips you could offer to create soft, natural looking skin tone would be greatly appreciated.

Great question. Yes, outdoors flash can be challenging, so here are my tips.

  • First, outdoors you can sometimes bounce. A wall, for instance, can provide a wonderful soft ounce area. If possible, try that first. (A Gary Fong Lightsphere may make this easier if there are some small things that light could bounce off. Like people, trees, a car, a fridge, you name it. The Fong Lightsphere throws light everywhere so it sometimes works.)
  • Second: next, try to soften the light. I often use a Honl Photo Traveller 8 softbox for this. Sometimes a Honl bounce card.
  • Third: the direction of the light is important. One reason outdoor flash can look unnatural is that the flash is shooting from where the camera is. If you can take it off the camera, using an off-camera flash cord like the ones of Flashzebra.com, you will get much more natural light. Shoot with the light coming from above (even a foot), and at an angle.
  • Fourth: I often add some colour, like a quarter CTO or half CTO filter, to warm up the flash. This removes much of the objective (see yesterday’s picture).
  • Finally: it is allowed, even a good thing, to shoot with direct flash outside. And Photoshop or Lightroom can help remove the nasty skin highlights. Sometimes this is just the price you pay!

I hope that helps!

Oh daddy…

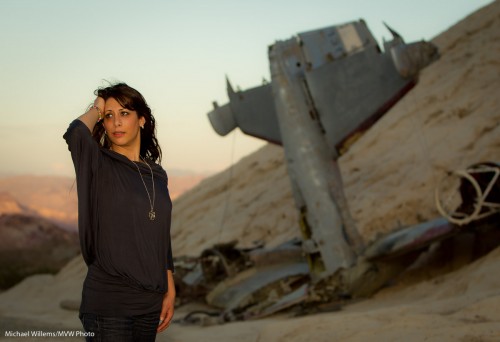
…I know I shouldn’t have  crashed your plane!

Yasmin Tajik in Nelson, NV

Yasmin Tajik in Nelson, NV

This photo, which I took in Nelson, Nevada of friend and photographer Yasmin Tajik, shows how useful a flash can be when fitted with gels.

I took the picture with a Canon 1D MkIV fitted with a 70-200 2.8 lens and a 580EX II flash. The camera was set to Aperture mode (Av), at f/4 and 100 ISO, which gave 1/320th second when I used -2/3 stop of exposure compensation.

The light was a setting sun.

But the setting sun was not lighting up Yasmin at all. So I used the flash.

But to keep the “golden hour” light quality, I fitted the flash with a Honl Photo Speed Strap and a  1/2 CTO Honl Photo gel.  That made Yasmin look like she was in the setting sun. When in fact she was not.

Reader post

Joel, a reader who came on a recent Creative Urban Photography walk with me, says the following – and I thought it worth it posting this today, to emphasise what I have said before:

Just circling back after the Urban Photography walk in Oakville that I did with you and the group on Oct. 23rd.
Despite the rain, it was a nice blend of technique and discussion.  I putzed around after we wrapped up down by the waterfront.

I had been on the fence about purchasing a flash after the Henrys show, but spending an afternoon with the Speedlighter had me sold.   Your quick demo about flash compensation and CTO was enough to push me over the edge.

[…for Canon users: Joel then points out there are cheap deals on for the 430EX: price match the Adens Camera offer at $274.99. I believe Henry’s also has a great offer on this flash…MW]

Not that you need any proof yourself, but I took a quick comparison shot (attached) to bring back to the camera guys here at work.  Images are unedited (but very compressed).  Left side is bounced behind me with the 430, right side is standard pop up flash.  Both shot at ISO 100 in my poorly lit living room at night.  Very happy with it and excited to learn more.  Keep posting on your speedlighter site – lots of good advice…

Thanks, Joel. Here’s your two shots:
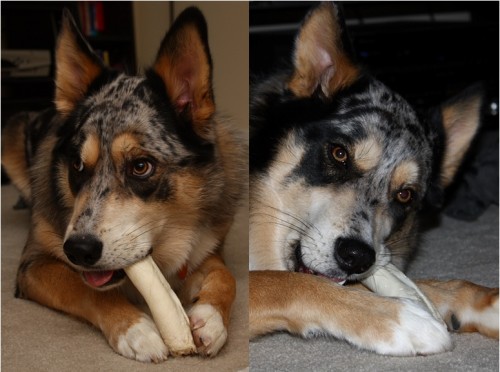
Bounced vs Straight

Bounced vs Straight

(Click to see them larger).

As you can see,

  • The bounced shot is much warmer (note, if due to wall colour it is too warm, this is easily adjusted with one little tweak in Lightroom).
  • Its shadows are softer. Look at the dog on the right and at the annoying shadow on our right.
  • Its background is not inky black, unlike the direct image’s background.
  • The catch lights are more natural (the straight image has an unnatural looking tiny catch light right in the centre of the pupil; the bounced image has a much more natural looking and much more naturally positioned catch light).
  • The dog looks more natural in the left image. On people, this would be even more dramatic: the right image would have oily, overexposed skin highlights. The dog’s hair helps shield us from this.

Images like this are taken as follows:

  1. Attach the flash to the camera.
  2. Turn it on, and ensuring it is set to TTL mode (its default).
  3. Use program mode on the camera; or manual (preferred for more advanced users) or even “night portrait” mode.
  4. Turn the head so it points 45 degrees upward behind you.
  5. Shoot!

Joel adds, in a follow-up email:

Camera is Canon XSi.  Standard Kit Lens 18-55 EF-S. I’ve never seen this level of detail out of my equipment before.  It was so sharp that when zoomed in, you can see my kitchen in his eye.  Like you said – ‘A bright pixel is a sharp pixel’  J

Exactly. That is Willems’s Dictum: “Bright Pixels are sharp pixels”. Noise, grain, cockroaches and bedbugs all hide in the dark areas.

All this is subject of my next November 20 all-day course (see www.cameratraining.ca) – you will learn these techniques and many more, and go home with some great portfolio shots using a professional model.

Reader question

Today, another reader question that I think may interest others. Reader (and student in one of my workshops) Chuck asks:

I wanted to ask you a second question since my class – this time about Canon lenses:

I’m looking for a wide angle Canon EF lens, and I’m seeing two choices:  17-40MM L F. 4.0 lens and for literally twice the price, a 16-35MM F2.8 lenses.

Having heard you educate about ISO abilities & Lightroom capabilities and seeing your picture of lenses ( http://mvwphoto.files.wordpress.com/2009/10/lenses.jpg) I’m wondering why you choose the more expensive 16-35MM F 2.8. over the 17-40MM F 4.0  I read a lot of praise for the F2.8 lens and mixed praise for the F4.0 lens…. but just wanted your perspective please on these two L series lens before I make the purchase.

Thx!

Great question, Chuck.

First of all: either lens would be superb. They are both high quality “L” lenses. On a full frame camera like my 1Ds this is a very wide angle lens; on a crop camera like my 7D this is a wide-to-standard lens. All great.

So why do I go with the 16-35 f/2.8 instead of the 17-40 f/4?

Two reasons.

  1. A wide lens is easy to keep in focus all over the place, i.e.in focus from the tip of your nose to infinity. The wider, the easier this gets. But what if I do not want that? What if instead I want selective sharpness, with a really, really blurry background? Then on a wide angle lens I need very low f-numbers to achieve that. F/2.8 is better than f/4 (which is better than f/5,6, and so on). ISO will not help here.
  2. Light. A wider lens lets in more light. One more stop may not seem much, but in the low light environments I often shoot in, that extra stop can be the difference between a lost shot and a good shot. ISO can of course help, but in that case the more expensive lens can be the difference between me having to shoot at 3200 ISO and being able to do it at 1600.

That’s why I chose the 16-35. The 17-40 would also be a super l;ens, and if you do not need the extra depth-of-field control and you do not shoot very dark environments all the time, the 17-40 will be great as well. I used to own one and loved it.

Why is the 2.8 twice the price? It has literally twice the glass in it, that’s why (a larger aperture means more of that expensive optical glass). So it’s not just marketing!

Advice: go into your camera store and hold both, feel them, try them out. Then, you will know. And since either choice will be superb, you will be happy!

Michael

Have fun

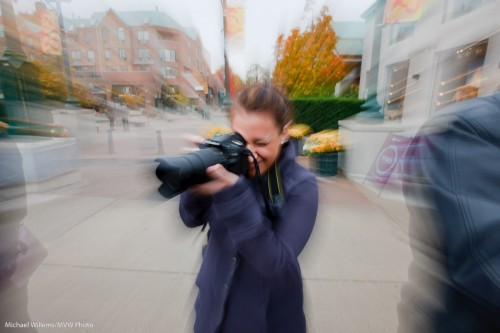
Have fun with your camera sometimes! So do the following:

World Centres On me

World Centres On me

And you do this as follows:

  • Set your camera to S/Tv mode
  • Select a shutter speed of, say, 1/15th second
  • Select a wide-angle zoom lens
  • Shoot as you are zooming. Preferably toward the wider end of the lens.

This takes a bit of practice, but it is fun.

Colour

Sunday, I spent the afternoon walking through Oakville with ten students for a Creative Urban Photography walk.

A few pictures here. I thought I would concentrate on colour. And even on a very cold fall afternoon, there is colour.

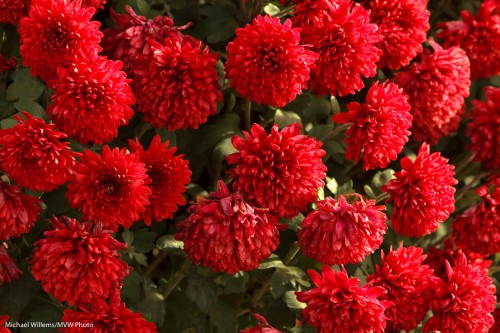
Like contrasting colour, in this case red and green:

Red-Green

Or harmonious pastel colour:

Colours

Colours

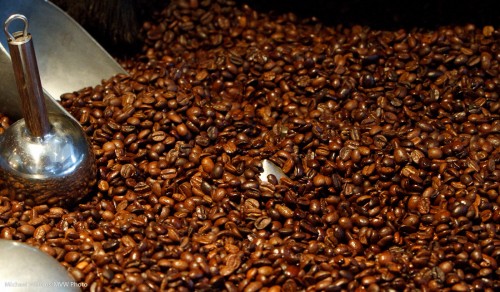
Or subtle single colour:

Coffee Beans

Coffee Beans

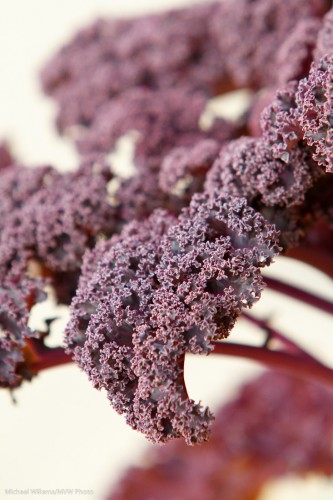
Or simple single colours:

Plant

Plant

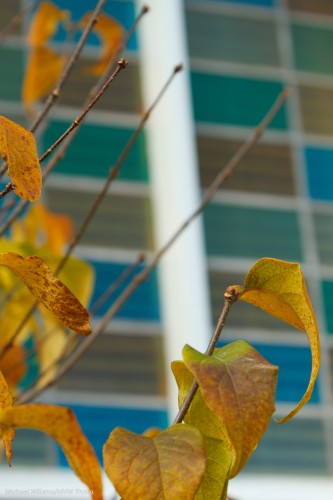
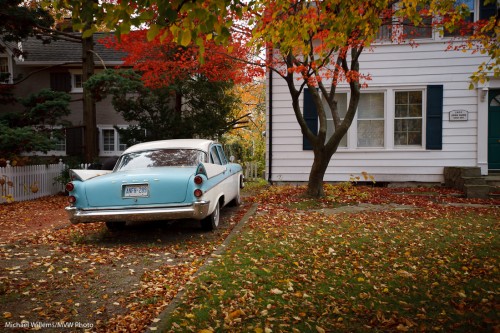
Or beautiful fall colours:

Fall colours

Fall colours

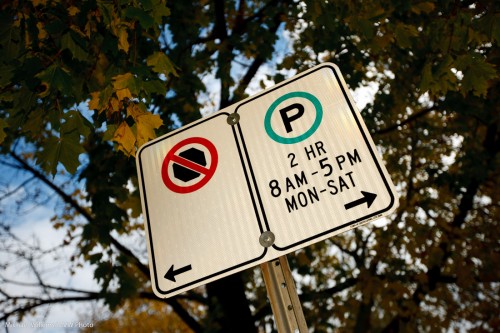
Or colour warmed up by a gel on the flash:

Sign

Sign

So if a cold afternoon can show colours like this, so can anything else. As long as you spot the colours.

Your assignment, therefore, if you wish: Spend an afternoon shooting in the environment of your choice, looking only for colours.

And remember to:

  1. Set the correct white balance
  2. Expose well (do not overexpose; use your histogram or a Hoodman Hood Loupe)

Enjoy your outing!