Photoshop, Elements or Lightroom?`

An often-heard question, here at Willems Central: which one should I use?

  • Adobe Photoshop Creative Suite, at around $1,000?
  • Adobe Photoshop Elements, around $ 100?
  • Adobe Lightroom, around $300?
  • Apple Aperture, around $150?

Actually, that’s a comparison of Apples to Oranges. They are different and address different needs.

Photoshop and Photoshop Elements address the need for “deep editing” single images. Getting Vogue front page and want to move a nose? Stretch legs? Turn red into green? You probably want to use Photoshop.

Lightroom and Aperture address a different set of needs. They offer:

  • Asset management. Great tools for comparison between images. Ranking, rating, organizing, searching, sorting, filtering, keywording, and so on. Amazing tools.
  • Quick editing – much quicker than in Photoshop. Not as deep, but as deep as a photographer usually needs.
  • Non-destructive editing – your original images never get touched.

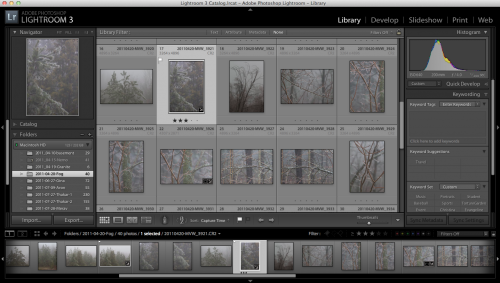
You can see Lightroom here:

Other differences:

  • Lightroom and Aperture can be learned in a few days. Photoshop will take you months to fully master.
  • Aperture is more Apple-like in that it wants to organize where your files are; Lightroom is more free in that it more readily leaves it to you.
  • Aperture is for Apple only; Lightroom is for Apple or Windows.
  • Photoshop CS contains “everything”; Elements is “for photographers”.

So what did I choose:

Both.

I work in Lightroom 99% of the time. LR saved me 75% of my post-production (finishing) time. ‘Nuff said! But occasionally I need to pop from LR into Photoshop. If you have more tan one image to finish, I recommend you start with Lightroom (or Aperture); and add PS/Elements later.

 

Background change

As you may know, I tend to not do a lot of post-work. I think often, editing in Photoshop or Lightroom is an excuse for not knowing photography very well.

But some adjustments are useful. And Lightroom can be super-fast with these. Let me show you one: “HSL”.

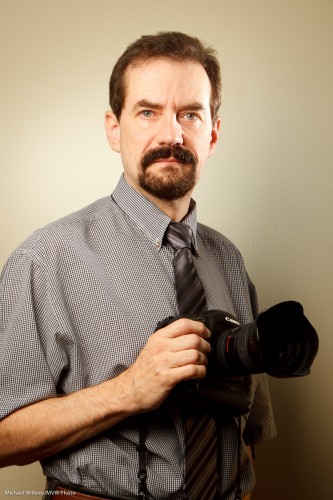
The wall in my dining room is this colour:

Michael Willems (Photo: Michael Willems)

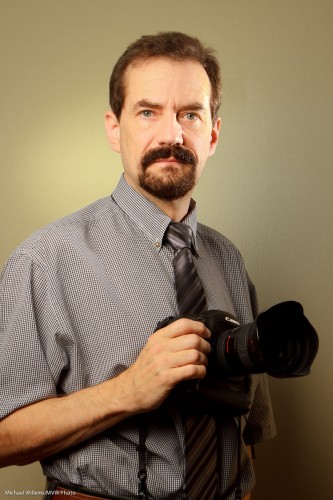
But the HSL adjustment in Lightroom, with the dropper selector, allows me to make it darker (“Luminance”):

Michael Willems (Photo: Michael Willems)

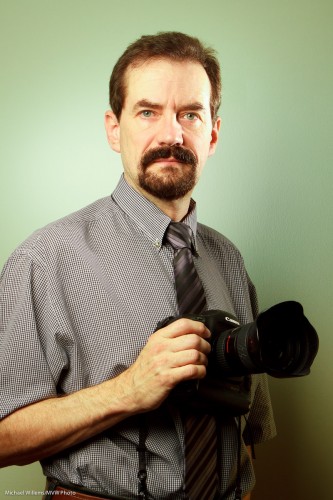
Or to change its colour (“Hue”):

Michael Willems (Photo: Michael Willems)

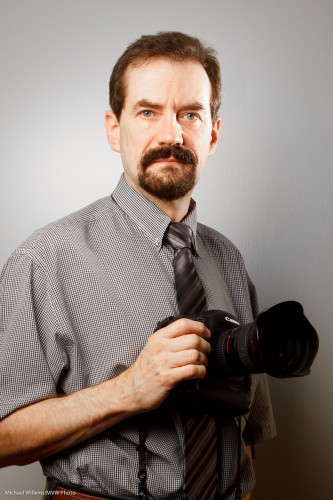
Or to change its saturation:

Michael Willems (Photo: Michael Willems)

And that one I do a lot when using that wall as my background!

A quick, simple, one second adjustment. Lightroom rocks.


Lightroom tip

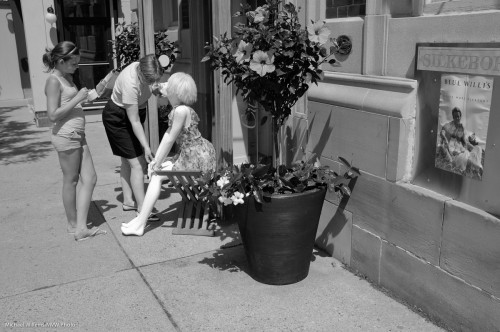
You know how you sometimes have to shoot with the camera slightly up or down? And how that makes the vertical lines converge or diverge at the top – i.e. they are no longer vertical?

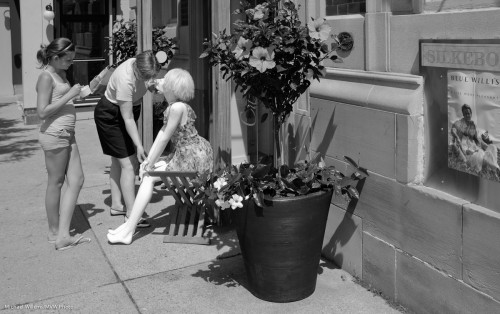
Oakville street scene (Photo: Michael Willems)

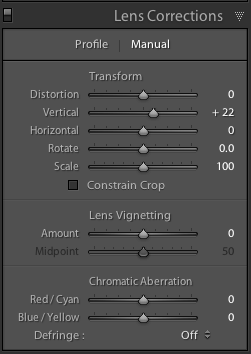
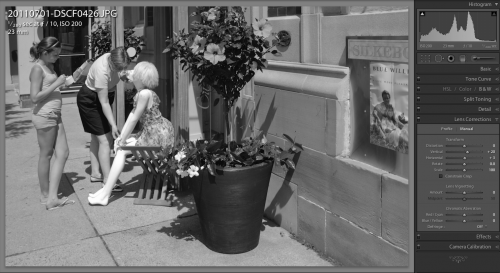
Enter Lightroom. Simply go to the Develop module, and the Lens Corrections pane. Select “Manual” and adjust “vertical” until the vertical lines are straight:

Now your image is straight.

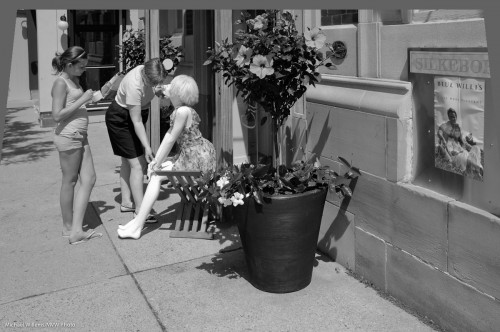
If you forget to crop after the adjustment, you will have empty areas around one end of the image:

But crop so they disappear, and all is well.

Oakville street scene (Photo: Michael Willems)

Total time taken: Like, um, three seconds? Lightroom rocks not because of what it can do (I can do this in Photoshop as well) but because of how convenient and quick it is (in Photoshop, this would take me several minutes).


Lightroom tip: Recovery

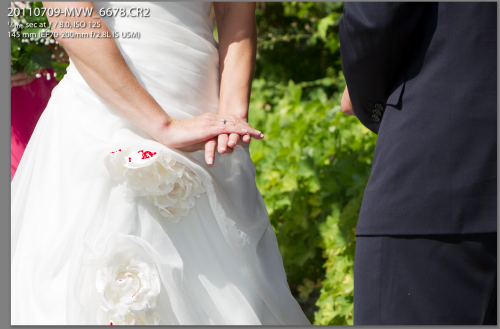
Yesterday I shot a wedding in broad hard daylight. That prompts me to write about a convenient Adobe Lightroom control you will need: recovery. Here’s how you use it.

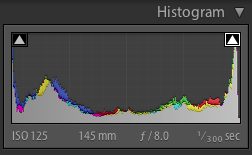
Look at the image. Then, in Lightroom’s DEVELOP module, turn on the highlights warning (on the histogram, click the right little arrow):

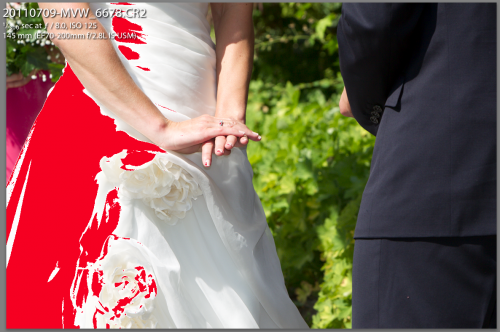
You now see the overexposed areas where there will be total loss of detail:

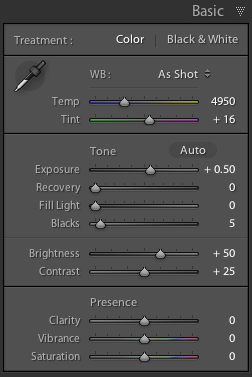
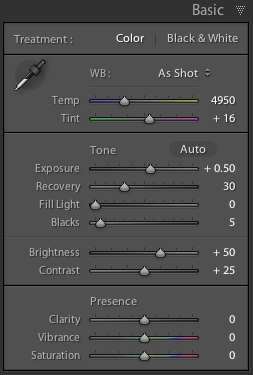
This is how the “basic” edit area looks:

Assuming you were sensibly shooting RAW, you can fix this.

In that “basic” area, drag the “recovery” slider to the right until the red almost disappears:

Now you see this:

And that means there is now detail in the dress. In the immortal words of George W. Bush: “Mission accomplished”.

Discussion:

Q: Why all the way to the right? A: Since the dress is pure white, we want its brightest bits to show extremely, totally, white. Hence the adjustment until the dress is only just showing some highlights.

Q: Could we have done this in camera? A: Yes, by decreasing exposure, but then we would have lost all detail in the dark areas. By slightly overexposing the very brightest areas and then fixing this, we are using the full dynamic range available to use – with the camera in RAW mode.

Q: Could we have done this by just dragging down exposure and increasing fill? A: Yes, perhaps – but in pictures where a small area is blown out totally – sunny day pics – the “recovery” slider is often the quickest, most convenient way to solve these issues. And speed matters when you have 300 images to finish!

Q: Doesn’t a high-end camera provide for this? Some kind of a highlights mode? A: Some do – but only if you shoot JPG, which kind of defeats the purpose of it all.


X-Ray Vision?

When you shoot people, you often need to clean up their skin just a little.

Permanent features can be lightened a little, while temporary blemishes can be removed. Don’t get me wrong, I am not advocating changing people into something they are not, but a little work is often the secret to a good photo.

So here’s a Lightroom trick that helps you see where problems are likely to occur. This is not always easy to see, but with my trick it’s a doddle.

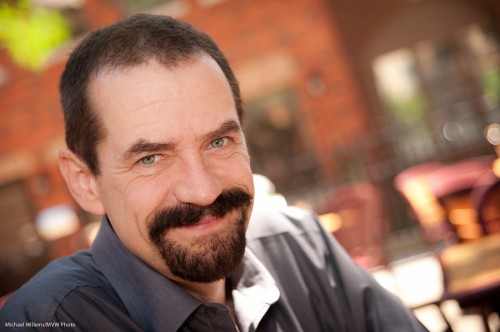
Take a RAW image into Lightroom. Ensure that exposure etc are good. You should see something like this:

Looks good (and being a photo of me, that is rather an achievement).

Oh yeah?

Then take this into Lightroom’s Develop module, and:

  1. Go to the HSL (Hue, Saturation, Luminance) section.
  2. Ensure you have selected the Luminance controls.
  3. Now decrease the orange luminance all the way (-100).
  4. Red and/or Yellow can go to -100 also, but sometimes work better at 0 or even at  +100 – try it to see. (And in people with different skin colour, different directions and amounts may be needed for all three orange, red and yellow – but it’s still those three).

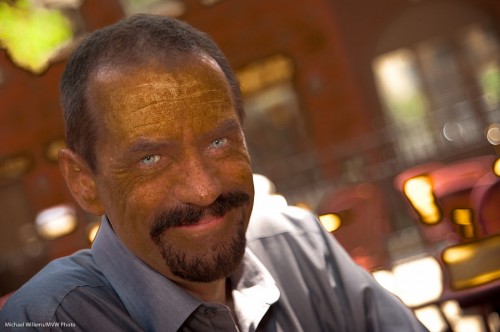
You now get this rather disconcerting view:

Light is fine; dark is fine: but the areas with rapid transitions between light and dark are the possible problems.  These “mottled” areas show you two things:

  1. Where you may need to concentrate your Lightroom or Photoshop efforts;
  2. Where this person may develop skin issues in later life.

On that last point: as a photographer, I see the damage the sun causes. My skin is relatively clear (I grew up in the Netherlands and the UK), but still, as you can clearly see there’s likely to be areas I can be slightly improved.

Anyway – this technique should speed up such “improvement” work as you may want to do.


A Lightroom effect

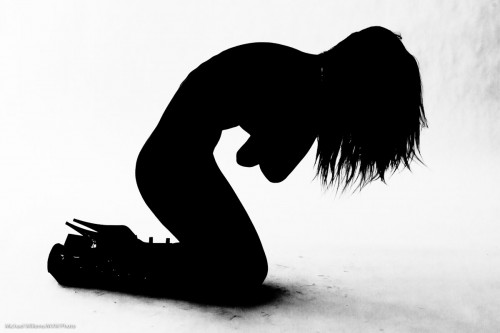
You all saw my silhouette pictures recently, and some have asked “how do you do that”.

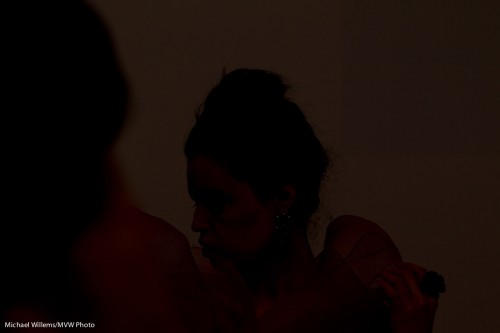
Sometimes these are fortuitous. Sometimes, as in my case, they are my standard process for a picture where the flash failed to fire (becasue someone else just fired it). In those cases I know I can get a contrasty silhouette out of it.

I use Adobe Lightroom for this. In Lightroom, an underexposed picture from Sunday’s shoot necessitated adjustments in the following order:

  1. Set white balance
  2. Set exposure to +4 stops (!)
  3. Set Fill Light to +13
  4. Set Blacks (a key adjustment!) to +17
  5. Now set Brightness to +103
  6. Set Contrast to +50
  7. Select “B&W” (Black and White) mode
  8. Curve adjustment: darks down, brights up
  9. Noise reduction

That resulted in this pretty good, if I say so myself, image:

Kassandra Silhouette

Of course I could have removed the “grunge”, as the model put it, on the floor and on the right, but no I like it. It’s part of the fun.

Remember, a good image makes the viewer do some work, “trying to put it all together”.

Lightroom post note

So you have a nice image – now you need some post-production work done, since the image out of camera may well need a little bit of need cropping and other adjustments. But you want to do these adjustments quickly and well.

What adjustments? Well, let’s take this example out of the camera. I shall show you how I do one.

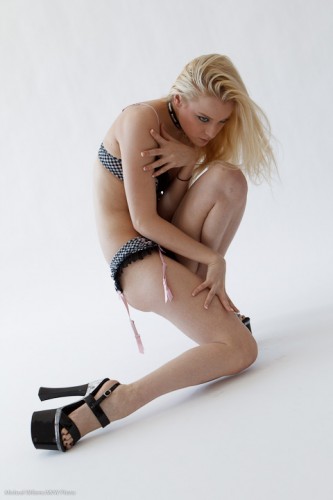
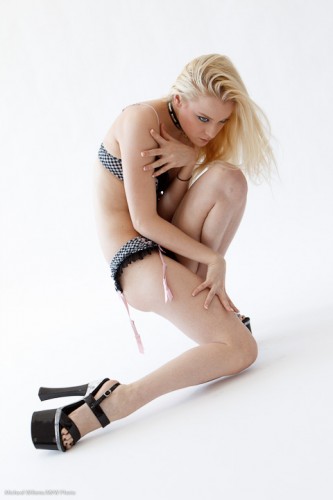
Here, an image from last Sunday’s workshop. Model Kassandra lit using available light, and using a paper backdrop. First I crop, and then here is the image:

I am after a high-key look to make her eyes stand out. But it is a little dark, because the model was pointed the wrong way (available light comes from a direction, in this case the camera’s left side), and because my camera told me the wrong exposure (yes, I should have probably done this in the camera, but even when you do, the RAW file can turn out different from the camera’s histogram).

So using the histogram to guide me, I dragged the white area to the far right. And here it is, with exposure corrected (up half a stop):

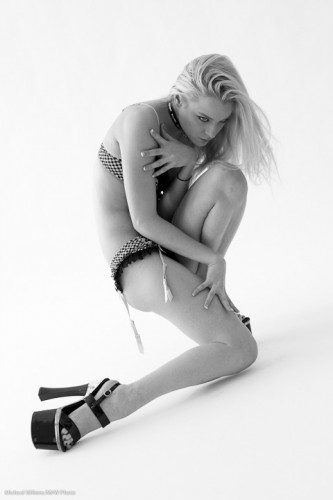
Now the next adjustment: using the HSL/Color/B&W tool, click on B&W to make it black and white. (Important tip: ensure you set white balance correctly before you do this).

Mmm. That is “vanilla” black and white. But now the trick. Go into the B&W adjustment in Lightroom, and drag the luminance of orange and red (but mainly orange) up to, say, +20 or more (in my case here: +39, and red to +20). This gives clearer, smoother skin:

Now use the healing tool to cleak a few skin blemishes on the model’s left knee (and I turned up the exposure just tad more):

And there we have it, in a few seconds, an image that was a bit dark has been made into a great black and white image.

Finishing

Today’s post is about finishing faces. It has no illustrative photo, for a reason.

You see, when you shoot a portrait, with today’s multi megapixel cameras and great lenses, you can zoom in to pore-level. And when you do that, even Angelina Jolie is human rather than angelic.

So it behooves us to be a little easy on the skin. To go easy on imperfections. But in a subtle manner.

Here are a few things to make things look better after the fact:

  1. Use a softening filter. We rarely do this anymore in the Photoshop age.
  2. Select a soft image setting in our cameras. This too is unnecessary.
  3. Use the “Clarity” setting in Lightroom, and set it to, say, -15. This is mathematical magic worth trying.
  4. Use Lightroom’s (or Photoshop’s)  healing brush to permanently remove temporary blemishes – such as pimples, bruises, etc.
  5. Use Photoshop’s Healing Brush to move wayward hairs into place.
  6. Use the same Lightroom Healing brush to make slight facial adjustments (I have been known to ever so slightly move an eye).
  7. Minimize permanent features – Healing brush set to an opacity of 33%, say.
  8. Use the HSL tool to increase the luminance of orange – this is kind to skin.
  9. Optimize the exposure of skin – the brighter, the smoother.
  10. Slightly vignette the image.

And with some simple tools like the ones above, carried out in seconds, we can subtly impriove faces until the subject loves the image without knowing quite why.

And that is why I am not illustrating this with an image. I would rather keep everyone guessing.

Why we shoot RAW.

What’s this RAW thing we keep hearing about? Should we shoot in that RAW format?

Um, yes.

And here’s why.

For two reasons.

  1. First, while JPG is like a Polaroid – all your settings are applied to the data – the RAW format is more like a negative – the settings are merely attached, so you can change stuff before you use it. White balance, colour space, and more. (Hands up, everyone who always gets every decision right? Yes, I thought so.)
  2. Second, there is more data – 14 bits versus 8 bits per colour channel. So you can fix under- or over-exposure more often.

What does that mean?

Let me give you an example. Say that I shoot Tara – but the flash does not fire. Result: a dark picture, totally unusable.

Tara - but no flash

Ah. But I shot RAW. So now I can do something wedding photographers do when a picture is unusable but they shot in RAW:

  1. Increase exposure in Lightroom by the maximum.
  2. Add fill light to the maximum.
  3. Convert to black and white.
  4. Increase luminance of red and orange (skin colours) to the maximum.
  5. Crop.
  6. Decrease noise.
  7. Add photo grain (looks great and moody).

And that gives me:

Tara - but no flash (fixed)

Wow. Like I intended it to be all trendy and moody and old-fashioned black and white and stuff. And this is with a picture that is underexposed by six, seven stops!

Case closed. Yeah?

Kiss kiss.

Another message I iterate often is the need to keep it simple.

A good photo is often distinguished by its simplicity. Everything in the photo is there for a reason – or it’s not there.

Simple can be achieved by:

  1. Filling the frame (zooming in or stepping closer)
  2. Changing your viewpoint
  3. Blurring the background
  4. Moving things or people.

An example of blurring and subsequent cropping:

Before:

Tree and ball

And after:

Tree and ball

As you see, a simple crop makes the picture better. The crop tool in Lightroom should be your best friend! An even tighter crop would be even better, I bet.

View the picture at full size and you can see me taking the shot.